If you too are looking to get the most out of your home and to transform it into a comfortable living space, this list may just have a few tips for you to do all you can do. While you can add some stylish and well practical additions to your home without having to spend the money. Here are a few ideas to get you started.
Bookshelf from Household Objects
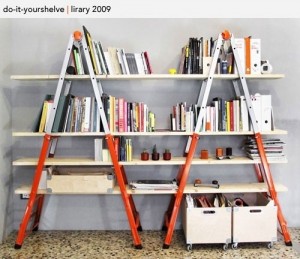 If you were thinking of spicing up your home a little bit and wanted to add some ambiance and organization, try adding a bookshelf. One, you can keep organized with your entire family’s reading, and two, the bookshelf will be a classy addition to your home that also looks good.
If you’re not planning to spend the cash on one, or you don’t want to build the simplistic and boring bookshelf from spare wood, try this cool recipe: chances are you’ll have a step ladder or two. Now with the addition of some spare wood from before, you can have a sweet design that is totally modern. While this shelf can be a man’s man’s mode of storage, you can see the same design used by such celebrities as Ellen Degeneres and her styling counterparts.
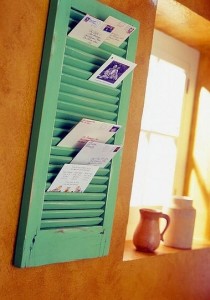 Window Shutter Mail Holder
If you have an extra window pane laying around, or have easy access to one, you can make yourself another stylish alternative to this otherwise seemingly useless object. With the natural grooves in a traditional window shutter, you can make a perfect, quant, and modern looking place for people to leave you mail. Just imagine how this looks as opposed to a traditional wooden box.
DIY Shoe Holders
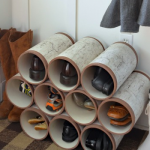 With a little bit of PVC piping, the kind you would use to build a waterway or a house’s plumbing, you can create an easy way to get organized with any extra shoes you may other wise have laying around. Whether they are yours and laying around in your closet with no better place to be, or they are your kids and family’s laying around in the house always ready to make a mess and add to clutter, you can take care of this by creating a little home for each pair. All you’ll need is a circular saw and some work goggles. Take a look at the picture.
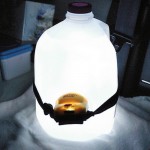 DIY Nightlight / Emergency Lighting
With an old headlamp you might have had once for that camping trip you may or may not have ever taken, you can create a brilliant emergency lighting source. If you are currently a father, mother, or ambitious kid, go ahead and make yourself a nightlight by strapping the light to a gallon water jug. You’ll find it nicely lights up the room for a comforting effect.
DIY Bulletin Board / Message Board
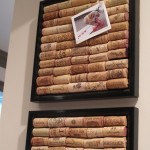 Need a way to communicate with your family that looks classy and is not costly? You could post one of these behind your front door to instantly communicate with your family and leave a message behind such as the week’s assignment of chores. Try getting a painting frame, size of your choice, and filling it up with used wine corks.
With your new DIY tricks, your friends and family will be impressed with the clever and classy organization you’ve introduced into your home. Don’t forget to share a few tricks with them, and maybe you’ll figure out a few new ones to add!
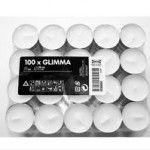 Tea Light Candles: These are best to buy in bulk. The more you buy in one set, the less you will pay for the individual candles. As a reference, you should be able to find a pack of 100 unscented tea lights for about $10, which amounts to 10 cents a candle. You’re not going to buy the flowery, scented, colored candles from a luxury store. Those will be way over priced, and you might as well pay for heating.
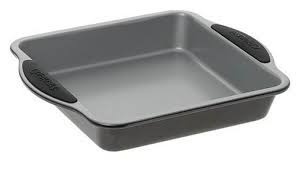
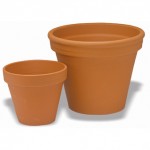 Terra Cotta Pots: You will want two different sizes here: a larger one and a smaller one. The smallest one should be able to sit on the rim of the pan without falling in, and the larger one should just about cover the whole surface of the pan without going too much over the sides.
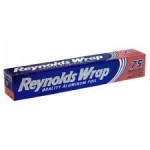 Aluminum Foil: You won’t need a whole roll, just a sheet to fold up into a disk and place over the hole at the bottom of your terra cotta pot, to keep the heat in. This should be reusable. Hopefully you have some aluminum foil at home, or can borrow some from a friend.
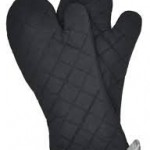 Oven Mitts: These pots and the baking pan will reach super high temperatures (160*), so you’ll need something to handle them.
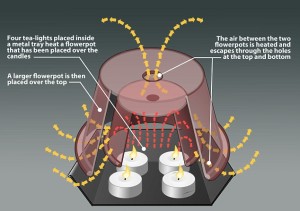 smaller terra cotta pot on top of the pan with the bottom facing up. Wad the aluminum into a disk that will cover the hole in the bottom of the smaller pot. Place the larger pot on top of the pan over the smaller one also with the bottom up, and this time leave the hole unplugged. There should be enough space between them for maybe an inch of air around the sides.